
When it comes to customisation, I like to think that with my experience in costume I have a little something to add to the table – and not just because the words sound similar. Micro Scooters however, are a whole different kind of genre: nothing to do with clothes and certainly nothing to do with stage performances or parties.
Luckily I like a challenge, and quickly found a whole industry out there for the personalisation of scooters, bikes, skateboards – even cars. Having had a look at what was available online, I chose a colour scheme for each of our daughters which comprised blue for the youngest because she’s Frozen-mad, and red for the eldest because…it wasn’t pink (although funnily enough, judging by skate shop stock it seems that neon pink is the ‘in thing’ amongst teenage boys).
Like a magpie mum I scouted various bright bits from various online stores, and was particularly proud of sourcing stickers of the girls’ names from eBay: simple yet effective, these were sure to make the kids’ scooters stand out from the crowd and make them infinitely un-stealable in the process.
So, armed with a couple of battered second-hand Micro Scooters (one a Sprite, the other a Bullet) I set about making them look cool and colourful for our two loud and lovely daughters aged five and seven.
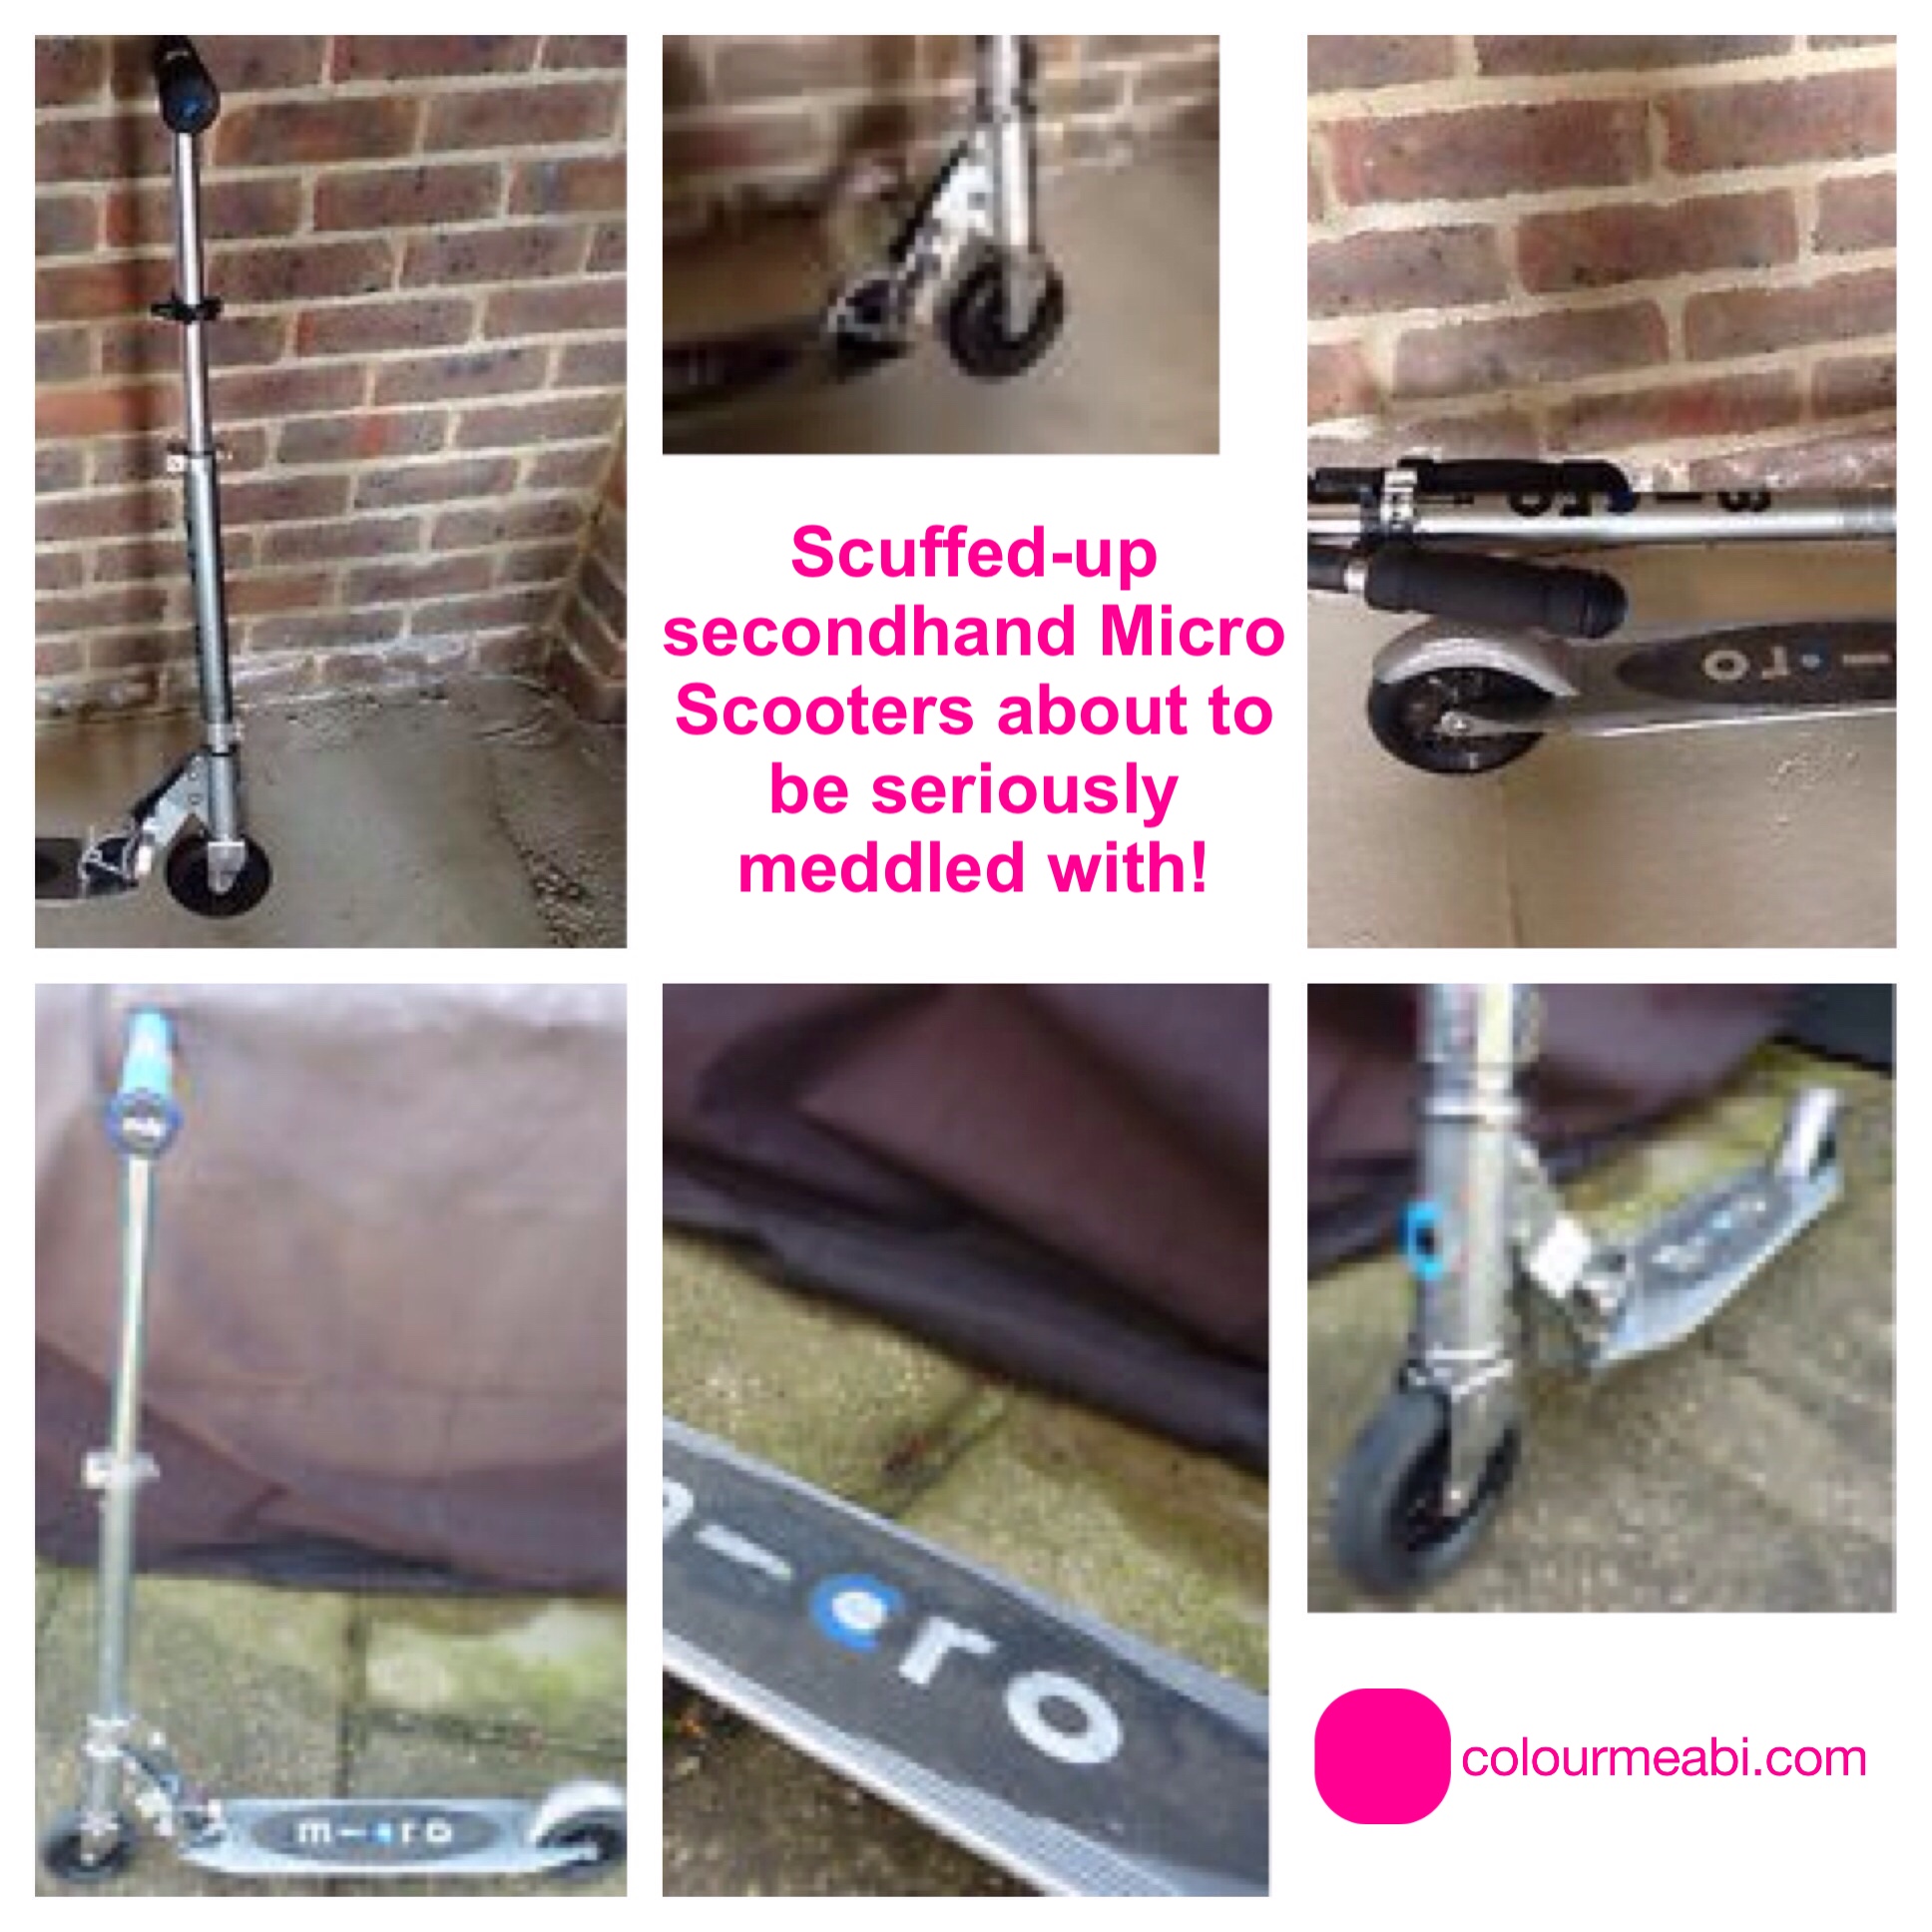
If you’re interested in a step-by-step guide to scooter customisation then please scroll to the end of this post. Otherwise, take a look the images below and be wowed by the transformation of the girls’ scooters: happily now much less Micro and rather more Mega!
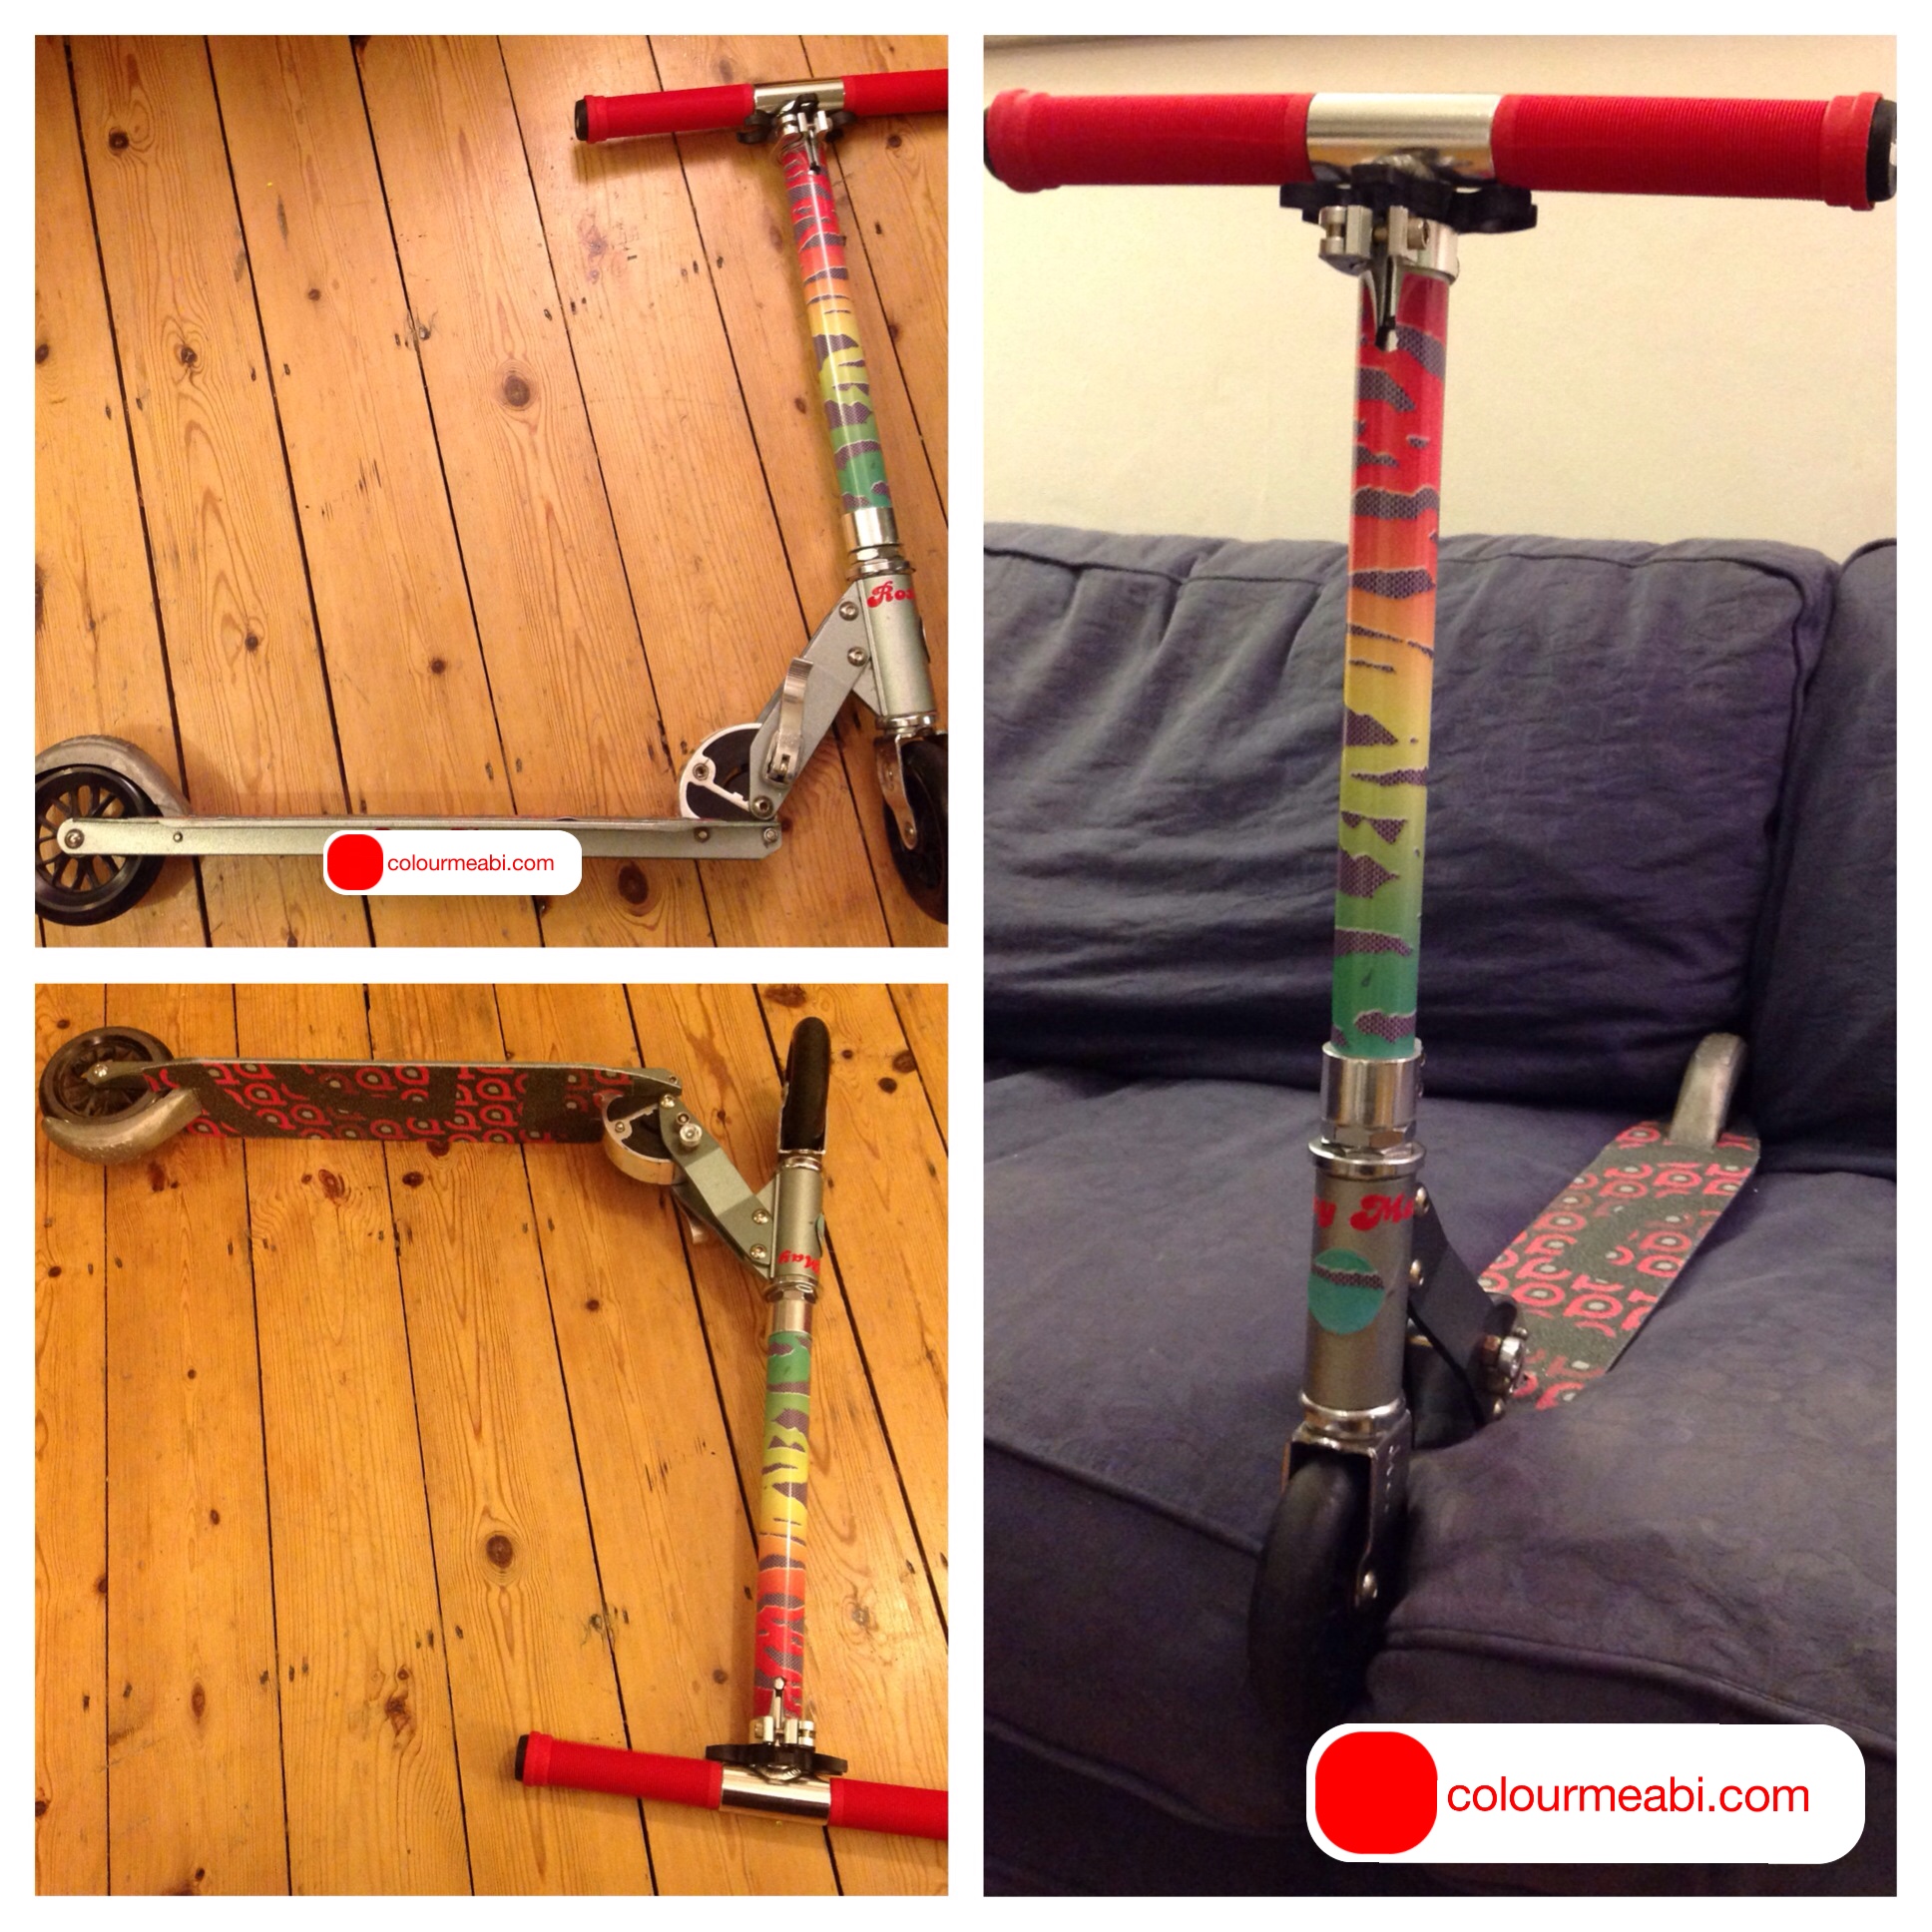
For our eldest daughter: her name sticker is where the colourmeabi logo is, and also wrapped around the base of the bar
Best of all, the end product was cheaper than the price of a new Micro Scooter and exceedingly cheerful, whilst the personalisation process itself was surprisingly enjoyable. Unfortunately, since these photos were taken at night, they don’t show quite how bright and beautiful the scooter colours are. So you’ll just have to imagine them!

For our youngest daughter: her name sticker is where the colourmeabi logos are
How to customise your child’s scooter:
Handlebars
Firstly I bought some (handlebar) grips online: I chose the flangeless type as they seemed more suited to the Micro Scooter style. The grips I chose came with plugs included, though you can buy these separately and really go colour crazy!
I sliced off the old black foam grips with a Stanley knife, and peeled them off.
I sprayed the inside of the new grips with a load of hairspray. With this cheap and easy lubrication they slid on easily – it literally took seconds – just make sure to spray and fit one grip at a time so that the hairspray doesn’t have time to dry.
The tricky part was getting the elastic hidden inside the handlebars (which enables you to fold the handles for easier storage) to stretch to the new plugs at the end of the grips. On one of the scooters this elastic wasn’t long enough so I had to buy some more, which was easily done at a local haberdashers.
I threaded the elastic so that it ran right through the inside of the handlebars end to end, leaving it long so that there was some leftover elastic stuck out either side.
I held the elastic at one end and pushed the plug down hard, trapping the elastic along the inside of the handle. I trimmed off the excess elastic left on the outside. This finished the handlebars off neatly and allowed them to be folded for storage.
Deck
I took a hairdryer to one end of the Micro Scooter branded deck grip tape and, focusing on an area by the outer edge of the grip tape, whacked the heat up to its hottest setting.
Once the edge of the grip tape became hot and the adhesive underneath had melted and weakened, I pulled the grip tape up. I continued heating then pulling, bit by bit, until it was possible to lift and remove the entire deck grip.
I gave the scooter a thorough clean.
I then measured the new deck grip against the deck area and cut each end to fit. I left the sides to trim down later.
I then peeled the backing off the new deck grip and carefully stuck it to the scooter, making any little changes to the grip tape – like subtle cutting and reshaping – as I went, to help it fit more snugly against the end shapes of the deck area.
Once the grip tape was firmly in place I ran a Stanley knife down each side of the scooter to trim off any excess grip tape.
Scooter Wrap
Since the kids’ scooters were second-hand and therefore not the smartest I decided to buy some scooter wrap to hide all the scrapes and knocks. There didn’t seem to be much of a choice of brand online, so I went for Scoot ID’s wraps which were all colourful, fun and…half price!
I cut the wrap so that the height of the handlebars could still be adjusted, and stuck it in place, curling it carefully around the bar.
I’d read a review which said that although the wraps were self-adhesive they came off easily, and in light of this I simply added a long vertical strip of sellotape from the top to the bottom of the bar where the join ran. Not particularly pretty, but thankfully not remotely noticeable either.
With the leftover wrap I cut a circle to cover the small blue and silver Micro Scooter logo at the front of the scooter, as this small circular area was particularly damaged on both scooters.
I then added the girls’ name stickers, two each: one loud and proud at the base of the bar so that it curled right around the front, and the other to one underside edge of the scooter, nice and subtle-like.
Et voilà!
